The Ultimate Calic Bagel Recipe: Homemade Stuffed Garlic Goodness
Have you ever craved a bagel that’s more than just a simple bread ring? A bagel that truly packs a punch with flavor and a satisfying surprise inside? Well, you are in for a treat today. We are going to explore the world of the Calic bagel, a truly special creation that brings a burst of savory delight to your kitchen table. This isn't just any old bagel, no, it's a taste adventure, and you can make it right at home.
For many, the idea of making bagels from scratch feels like a big task. Perhaps you think it takes too much time, or that the process is just too hard to get right. But honestly, it is much simpler than you might imagine. With a few basic things and a bit of time, you can have fresh, warm Calic bagels ready to enjoy. Think of the amazing smell filling your place; it's pretty inviting, you know?
This recipe brings a unique twist to a classic favorite. We are talking about a bagel that is rich with garlic notes, and, in some respects, has a wonderful filling. The name "Calic" itself, as a matter of fact, brings to mind that lovely, pungent flavor of garlic, making it a perfect fit for a savory, stuffed bagel. So, let's get ready to make some truly memorable bread.
- Who Is Jhen%C3%A9 Aikos Second Baby Daddy
- Is Kathy Bates In A Relationship Right Now
- Namiko Love Height
Table of Contents
- What is a Calic Bagel?
- Why Make Your Own Calic Bagels?
- Essential Ingredients for Your Calic Bagel Recipe
- Step-by-Step Guide to Making Calic Bagels
- Calic Bagel Variations and Toppings
- Tips for Perfect Homemade Bagels
- Storing Your Calic Bagels
- Frequently Asked Questions
What is a Calic Bagel?
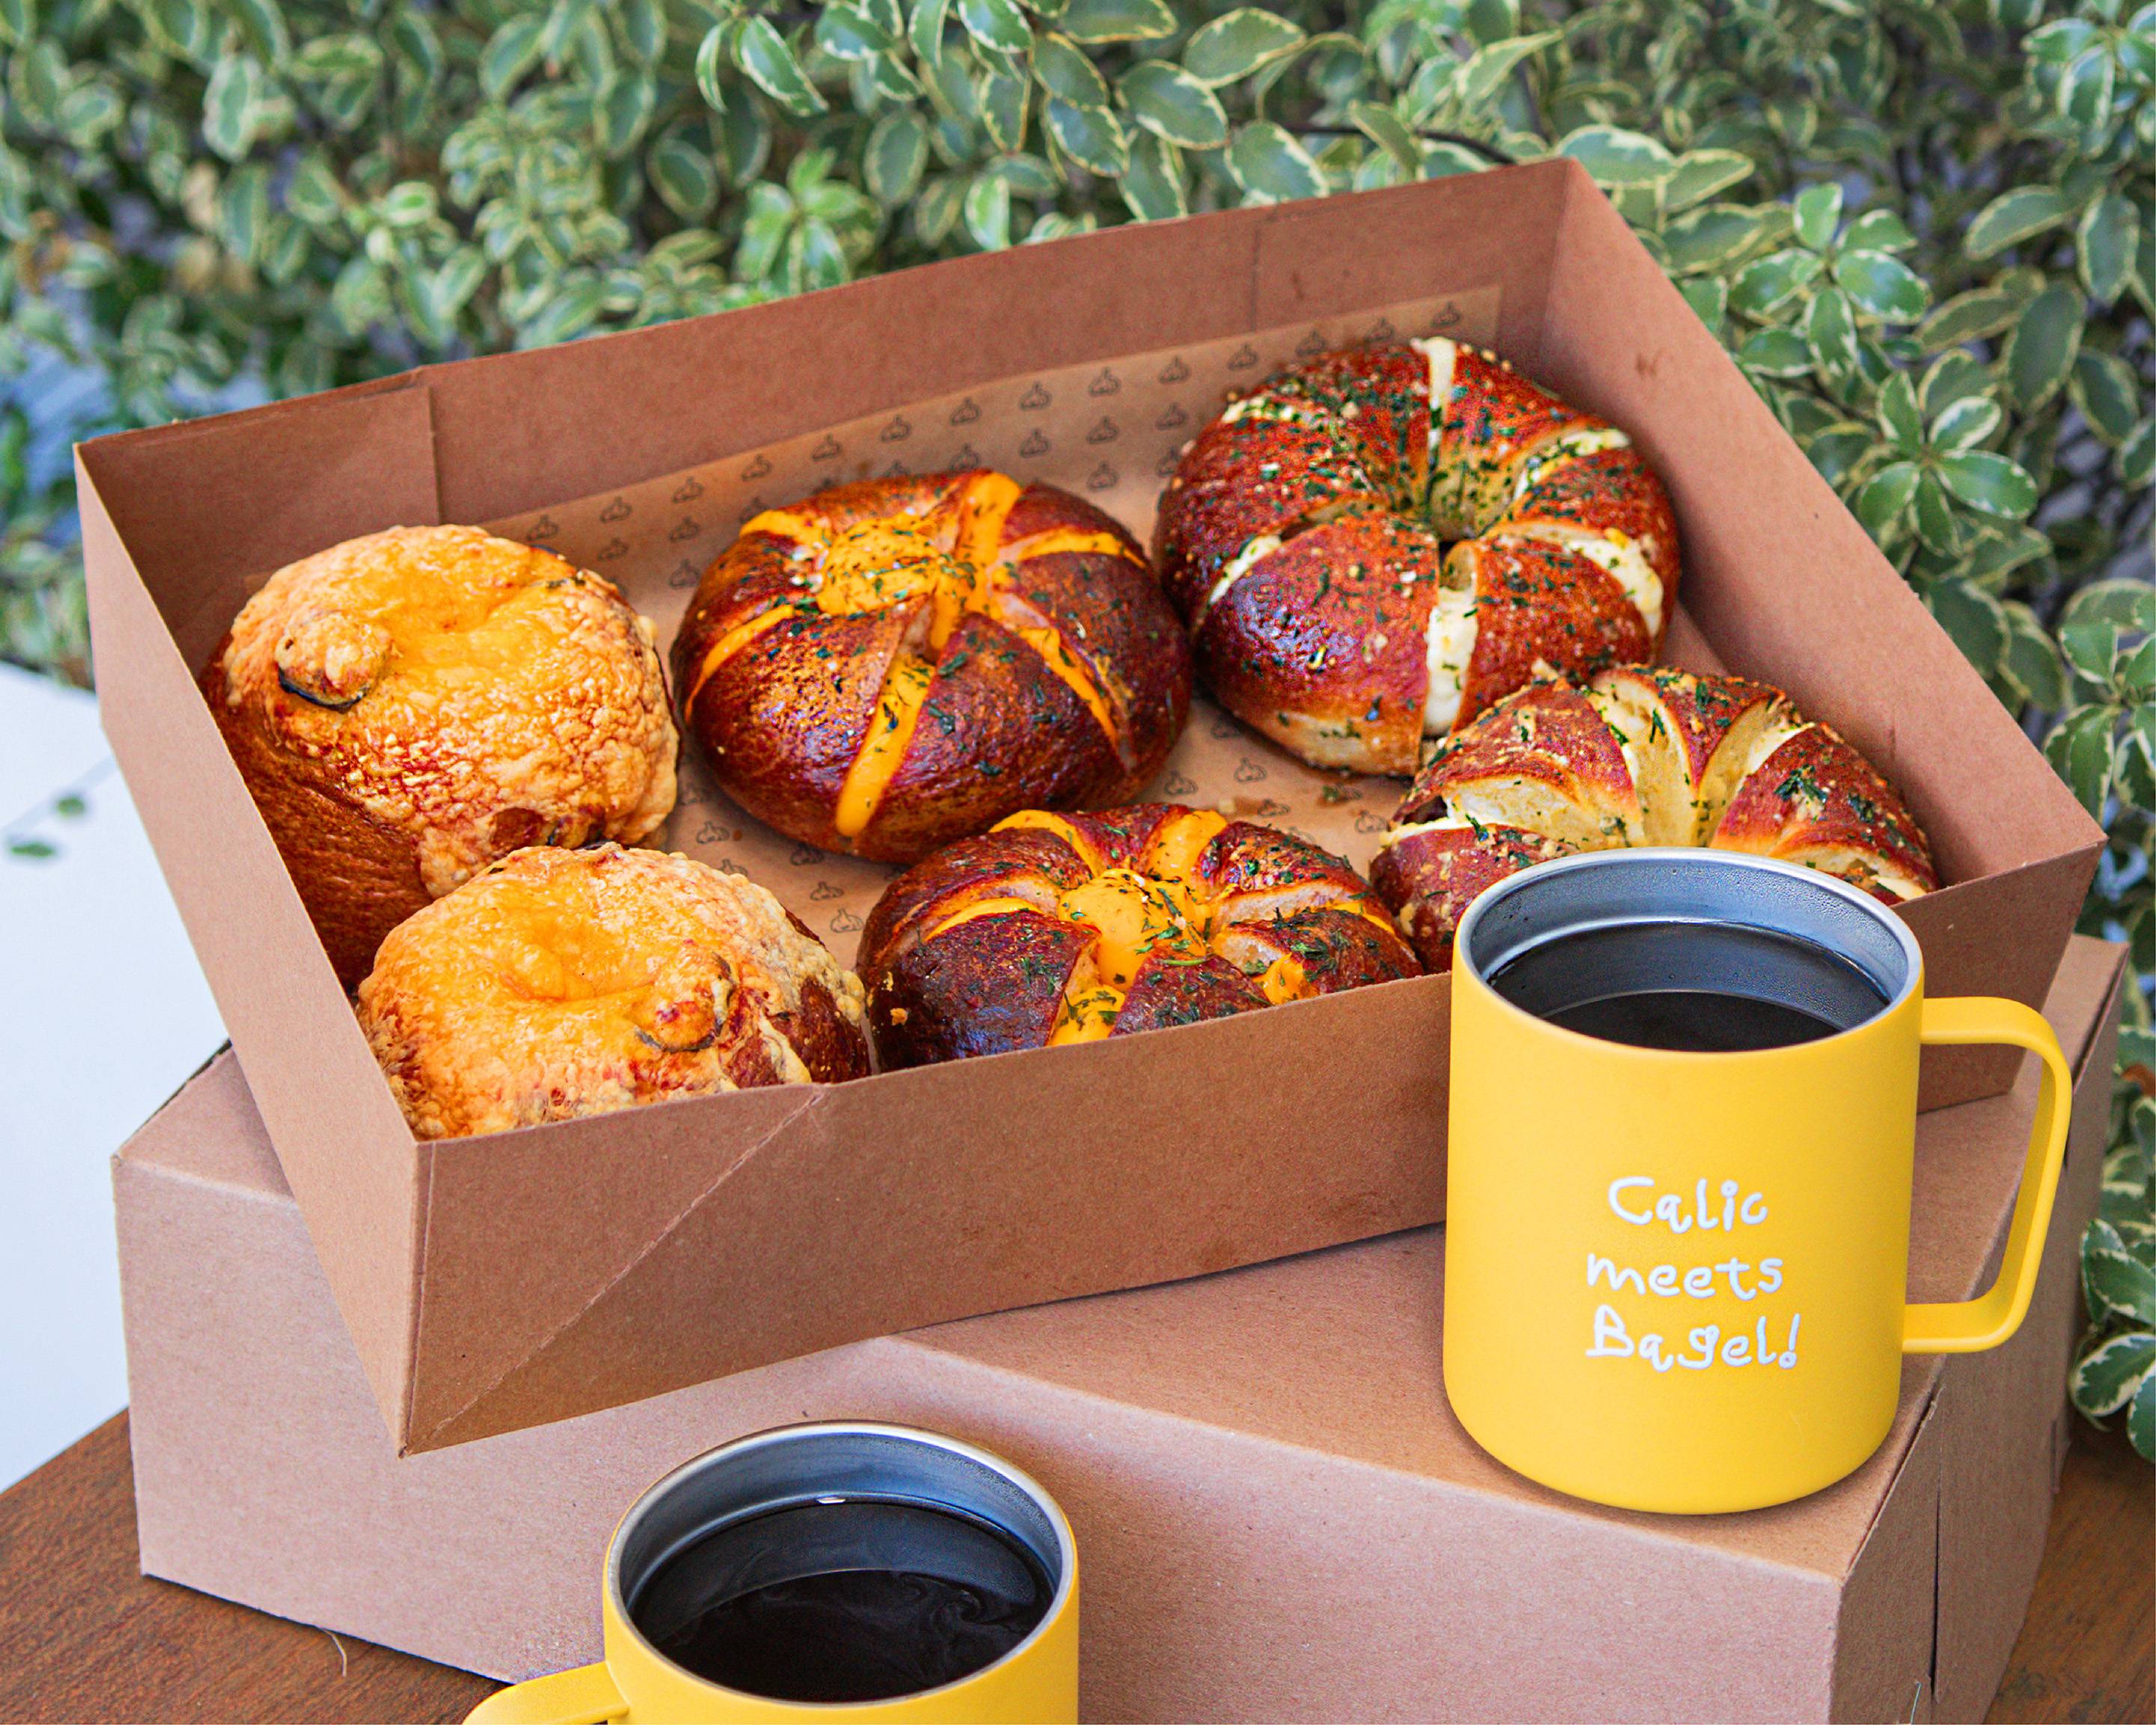
A Calic bagel, as we are making it today, draws its name from a playful connection to the word "garlic." Imagine a bagel that has that wonderful, savory taste of garlic baked right into it. What is more, this particular version takes things up a notch by being a stuffed bagel. Think of it as a little pocket of flavor, ready to surprise you with every bite. It is, in a way, a complete meal on its own.
This style of bagel, stuffed and full of flavor, has a lot in common with those popular "LA style" bagels you might have heard about. They are known for being generously filled and having a soft, chewy inside with a nice crust. So, when you hear "Calic bagel," think "garlic-infused, delightfully stuffed, and absolutely delicious." It is, you know, a pretty special kind of bagel.
Why Make Your Own Calic Bagels?
Making your own bagels gives you so much control over the taste and what goes into them. You can pick the best things to use, ensuring your bagels are fresh and full of good stuff. Plus, the smell of fresh bread baking at home is simply amazing. It makes your whole place feel warm and welcoming, honestly.
Store-bought bagels, while handy, sometimes just do not have that same chew or deep flavor. When you make a Calic bagel yourself, you get that perfect texture, a crispy outside, and a soft, airy inside. And then there is the filling, which you can make exactly how you like it. It is, basically, a truly rewarding cooking project.
Beyond the taste, there is a real sense of achievement that comes with baking bread from scratch. It is a calming activity, and the end result is something you made with your own hands. Sharing these homemade treats with family and friends is a joy. So, why not give it a try? You might just find a new favorite hobby, you know.
Essential Ingredients for Your Calic Bagel Recipe
To make these wonderful Calic bagels, you will need a few key things. The beauty of it is that most of these are likely already in your kitchen. We will start with the dough, which is the heart of any good bagel. Then, we will talk about that amazing garlic filling. So, let's get our list ready.
For the Bagel Dough:
- Strong bread flour: This is important for that classic bagel chew. It has more protein, which helps develop the gluten.
- Warm water: Not too hot, not too cold. Just right for waking up the yeast.
- Active dry yeast: The magic ingredient that makes the dough rise.
- Granulated sugar: A little bit for the yeast to feed on, and for a touch of sweetness.
- Salt: For flavor, and it also helps control the yeast activity.
- Olive oil: A touch for richness and to help with the dough's texture.
For the Garlic Filling:
- Cream cheese: The base of our creamy, savory filling. Full-fat works best for a rich taste.
- Fresh garlic: Minced very fine. This is where the "Calic" flavor really comes from.
- Parmesan cheese: Grated, for a salty, nutty kick.
- Fresh parsley: Chopped, for a bit of freshness and color.
- A pinch of red pepper flakes: If you like a little warmth, this is optional, of course.
- Salt and black pepper: To taste, making sure the filling is just right.
For Boiling and Topping:
- Water: A big pot for boiling the bagels.
- Baking soda: Added to the boiling water for that shiny, chewy crust.
- Garlic powder and dried parsley flakes: For sprinkling on top, adding more flavor and a nice look.
Step-by-Step Guide to Making Calic Bagels
Making bagels is a process, but each step is pretty straightforward. Take your time, and you will get great results. This guide will walk you through everything, from mixing the dough to pulling those golden bagels from the oven. It is, basically, a simple plan to follow.
Making the Dough
First, get a large mixing bowl. Put your warm water in it, and then sprinkle the yeast and a little bit of the sugar over the top. Give it a gentle stir and let it sit for about five to ten minutes. You want to see it get foamy, which tells you the yeast is alive and ready to work. This is, you know, a really important first step.
Once your yeast is bubbly, add the rest of the sugar, the salt, and the olive oil to the bowl. Give it another mix. Then, gradually add the bread flour, a cup at a time, mixing with a wooden spoon or your hands until a shaggy dough forms. It will look a bit rough at first, which is perfectly normal, in a way.
Now, turn the dough out onto a lightly floured surface. Begin to knead it. This means pushing the dough away from you with the heels of your hands, then folding it back over, and turning it a quarter turn. Keep doing this for about 10 to 15 minutes. The dough should become smooth and springy. It is, quite literally, a workout for your arms, but so worth it.
The dough is ready when it passes the "windowpane test." This is where you can stretch a small piece of dough very thin without it tearing, allowing light to pass through like a window. This shows the gluten has developed well. So, keep at it until you reach that point.
First Rise
Lightly oil a clean bowl. Place your kneaded dough into the bowl, turning it once to coat all sides with the oil. Cover the bowl with a clean kitchen towel or plastic wrap. Put it in a warm spot in your kitchen. Let the dough rise for about one to one and a half hours, or until it has more or less doubled in size. This rise time is really important for flavor, you know.
A warm spot could be near a sunny window, or in an oven that is turned off but has the light on. Just make sure it is not too hot, as that could kill the yeast. This first rise allows the yeast to do its work, creating those air pockets that make bagels so lovely. It is, basically, the waiting game part of the process.
Shaping and Stuffing
While the dough is rising, you can make your garlic filling. In a small bowl, combine the softened cream cheese, minced fresh garlic, grated Parmesan cheese, chopped fresh parsley, and the pinch of red pepper flakes if you are using them. Mix everything together until it is well combined and smooth. Taste it and add salt and pepper as you like. This filling is, frankly, what makes these bagels special.
Once the dough has risen, gently punch it down to release the air. Turn the dough out onto a lightly floured surface. Divide the dough into 8 to 10 equal pieces, depending on how big you want your bagels to be. Roll each piece into a smooth ball. This helps make them uniform, you know.
Now for the stuffing part. Take one dough ball and flatten it into a disk, about 4 to 5 inches across. Put a spoonful of your garlic cream cheese filling in the center of the disk. Bring the edges of the dough up and around the filling, pinching them together tightly at the top to seal it completely. Make sure there are no gaps, or the filling might escape during baking. This takes a little practice, but you will get the hang of it, you know.
Once sealed, gently roll the stuffed ball between your palms to smooth it out and make it round. Repeat this process with all the dough pieces. Place the shaped and stuffed bagels on a baking sheet lined with parchment paper. This helps prevent sticking, you know.
Second Rise
Cover the baking sheet loosely with plastic wrap or a clean towel. Put the bagels in the refrigerator for at least 30 minutes, or even overnight. This cold rise, or "retarding" as it is sometimes called, helps develop a deeper flavor and a chewier texture. It also makes the bagels easier to handle before boiling. It is, honestly, a step you do not want to skip.
If you are doing an overnight rise, just take them out of the fridge about 20-30 minutes before you plan to boil them. This lets them come to room temperature a bit. This second rise is much slower because of the cold, but it is very important for the final bagel quality, you know.
Boiling
Preheat your oven to 425°F (220°C). Get a large pot of water boiling. Add the baking soda to the water. This is what gives bagels their shiny, chewy crust. The water will bubble up a bit when you add the soda, so be ready for that. This step is, basically, what makes a bagel a bagel.
Carefully drop 2-3 bagels into the boiling water at a time, making sure not to crowd the pot. Boil them for 30 seconds to 1 minute on each side. For a chewier bagel, boil them a little longer, but do not go over 2 minutes per side. Use a slotted spoon to take them out of the water. Let the extra water drip off. This boiling step is, in some respects, the secret to that classic bagel texture.
Place the boiled bagels back on the parchment-lined baking sheet. They will look a little puffy and sticky, which is exactly what you want. This step is pretty quick, but it makes a big difference to the final product, you know.
Baking
Once all your bagels are boiled and on the baking sheet, sprinkle them generously with garlic powder and dried parsley flakes. You can also add a little coarse salt if you like. This adds more of that Calic flavor and makes them look really good. This is, you know, the final touch before baking.
Put the baking sheet into your preheated oven. Bake for 18 to 25 minutes, or until the bagels are golden brown and sound hollow when you tap the bottom. The exact time can vary depending on your oven, so keep an eye on them. They should have a nice, firm crust. It is, quite honestly, the most exciting part of the whole process.
When they are done, take them out of the oven and place them on a wire rack to cool completely. This cooling time is important for the texture to set. Trying to cut into a hot bagel can make it gummy inside. So, let them cool down a bit before enjoying them. You will be so happy with how they turn out, you know.
Calic Bagel Variations and Toppings
While the classic garlic cream cheese filling is amazing, you can definitely play around with other ideas for your Calic bagels. The base dough is versatile, so feel free to get creative. For instance, you could add some chopped chives to the garlic filling for an oniony kick. That would be pretty good, you know.
Other filling ideas could include a blend of cheeses, like mozzarella and cheddar, perhaps with a little bit of chopped cooked bacon or sun-dried tomatoes. You could even make a spicier filling with jalapeños and pepper jack cheese. The possibilities are, basically, endless. Just make sure your filling is not too wet, or it might make the dough soggy.
For toppings, beyond the garlic powder and parsley, consider everything bagel seasoning for an extra layer of flavor and texture. Sesame seeds, poppy seeds, or even a sprinkle of grated Parmesan on top before baking would also be nice. It is, after all, your bagel, so make it just how you like it.
Tips for Perfect Homemade Bagels
Making bagels can be a bit of a learning curve, but these tips should help you get great results every time. First, do not skip the kneading. It is what gives bagels their unique chewy texture. A good knead develops the gluten, which is truly important. This is, you know, a key step.
Also, make sure your water for the yeast is the right temperature. Too hot, and it kills the yeast; too cold, and it will not activate. Aim for around 105-115°F (40-46°C). A kitchen thermometer can be a big help here. It is, basically, about getting things just right.
When shaping, try to keep your hands lightly floured, but not too much, as too much extra flour can make the dough tough. When sealing the stuffed bagels, really pinch those seams shut. A loose seam means the filling might leak out during boiling or baking. You want those pockets of goodness to stay inside, you know.
Do not crowd the pot when boiling. Give each bagel enough space to float freely. This ensures even cooking and a good crust all around. And remember to let them cool on a wire rack. This stops the bottoms from getting soggy. For more baking insights, you could check out this baking resource. It is, in some respects, a very helpful site.
You can also learn more about making bread at home on our site, and find other great ideas on our recipe pages. These resources can help you grow your baking skills even further. So, keep exploring, you know.
Storing Your Calic Bagels
Freshly baked bagels are always the best, but if you have any left over, you can store them to enjoy later. Once they are completely cool, put them in an airtight container or a large zip-top bag. They will stay fresh at room temperature for about two to three days. This is pretty good for homemade bread, you know.
For longer storage, you can freeze them. Slice them in half first, then place them in a freezer-safe bag. They will keep well in the freezer for up to three months. When you want one, just pop a frozen half into the toaster or warm it in the oven. It is, honestly, a great way to have fresh bagels whenever you want them.
Frequently Asked Questions
What makes a Calic bagel different from a regular bagel?
A Calic bagel, as we have talked about, typically includes a strong garlic flavor baked into the dough or as part of a filling. Our recipe, as a matter of fact, uses a creamy garlic filling, setting it apart from plain bagels. It is, basically, a more flavorful and often stuffed version.
Can I make Calic bagels without stuffing them?
Yes
Order Calic Bagel Menu Delivery in Los Angeles | Menu & Prices | Uber Eats
These Mouthwatering Cream Cheesy Garlic Bagels Are Making L.A. Drool

Calic Bagel | Los Angeles CA
